
Complete Rooftop Tent Setup Guide
A QUICK GUIDE TO ROOF TOP TENTS
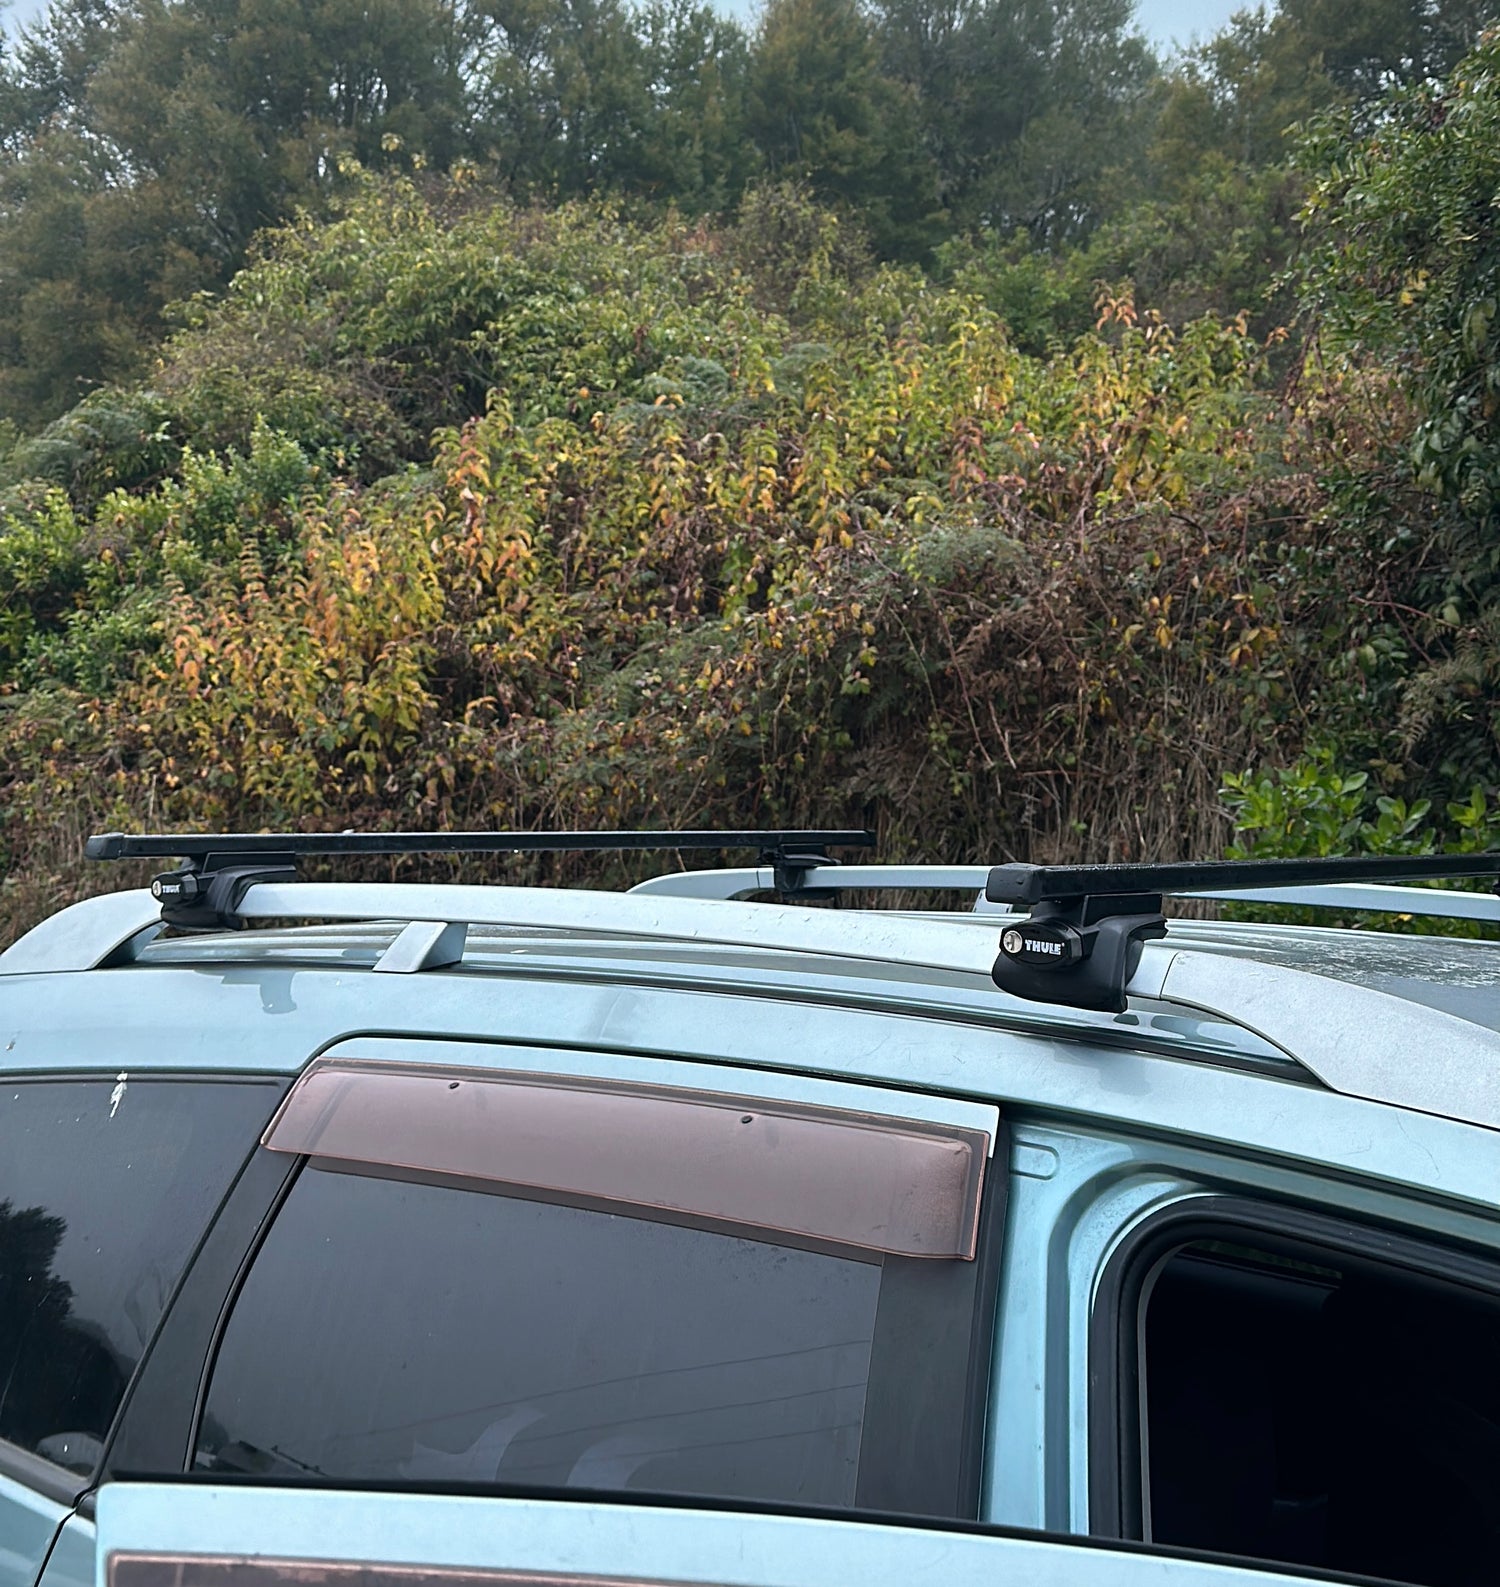
STEP 1
Get roof bars
Make sure you have the appropriate roof racks for your vehicle. You can get roof racks from any reputable manufacturer, even if there are no obvious mounting points or rails. They are easy to install and come with clear instructions.
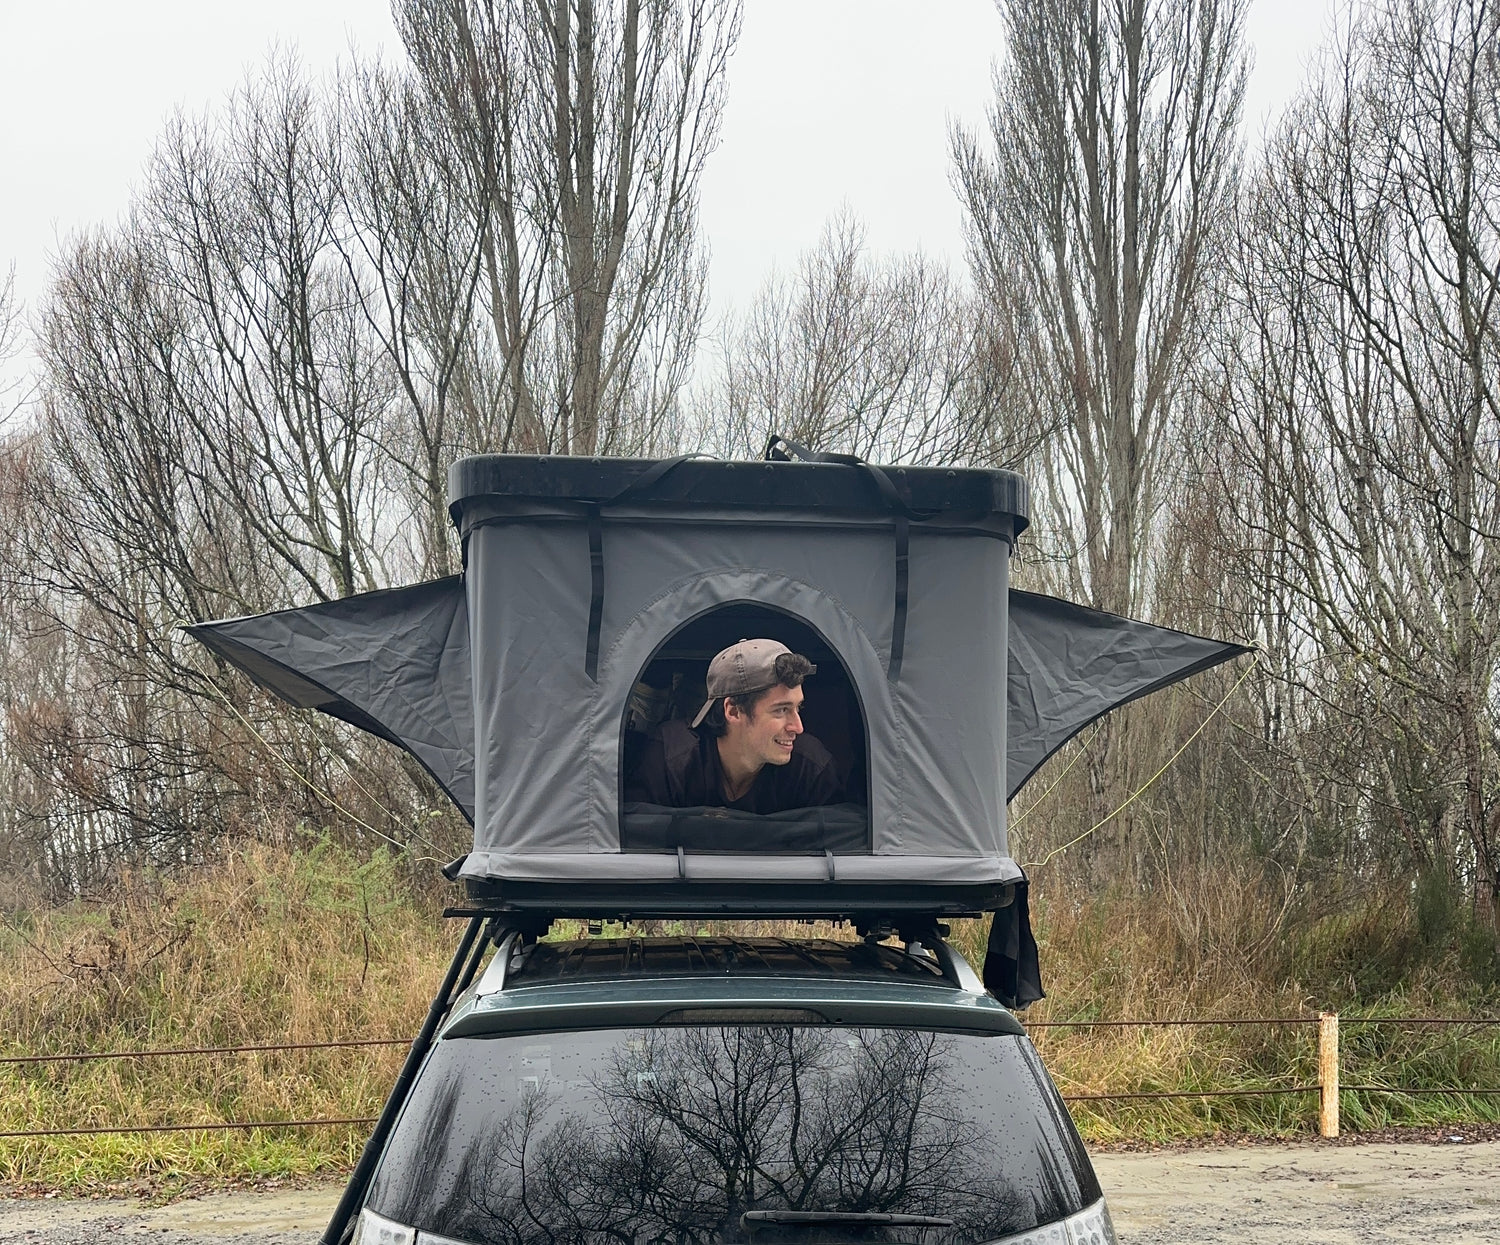
STEP 2
Check your roof load
Every vehicle has a dynamic roof load limit, which indicates how much weight the roof can support while driving. You can find this information online or in your vehicle’s manual.
the about the added weight of people inside?
When a car is stationary, the roof can take 5x the dynamic roof load limit, so can easily handle the weight of several people too.
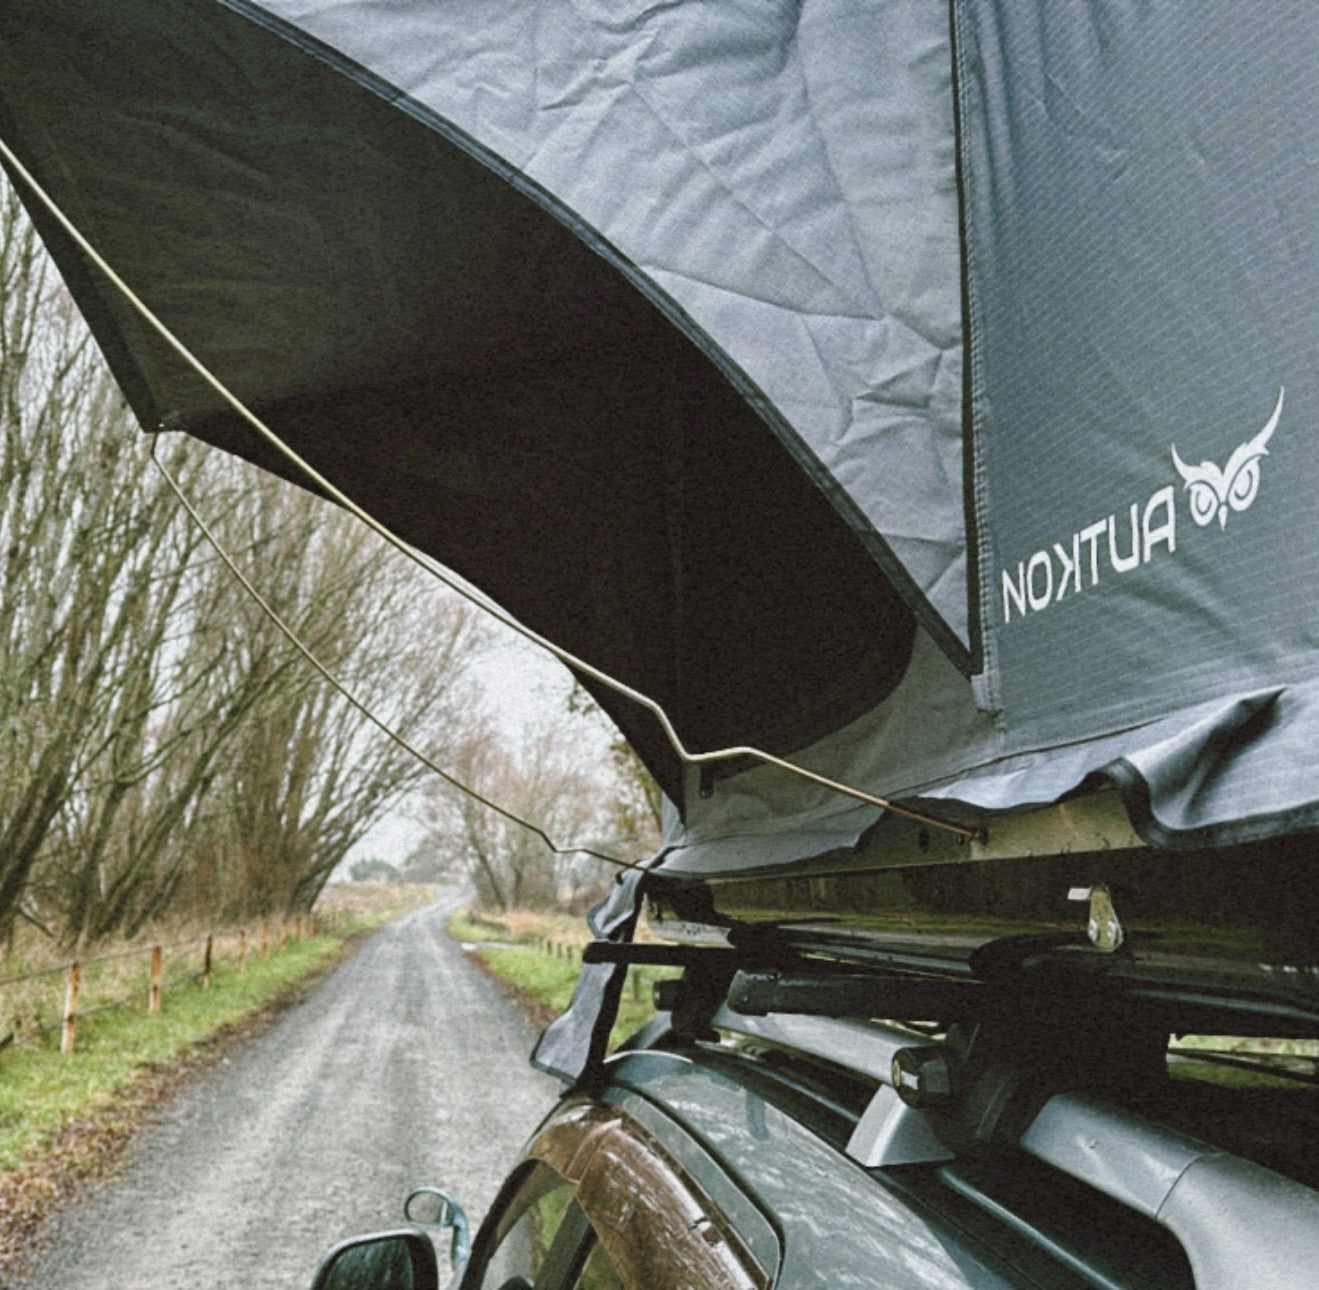
SETP 3
Choose your Rooftop Tent
Explore our different rooftop tent models and select the one that best suits your needs and preferences. We offer a variety of models designed for different types of vehicles and situations. Once you’ve chosen your model, proceed with the purchase to enjoy the best camping experience.
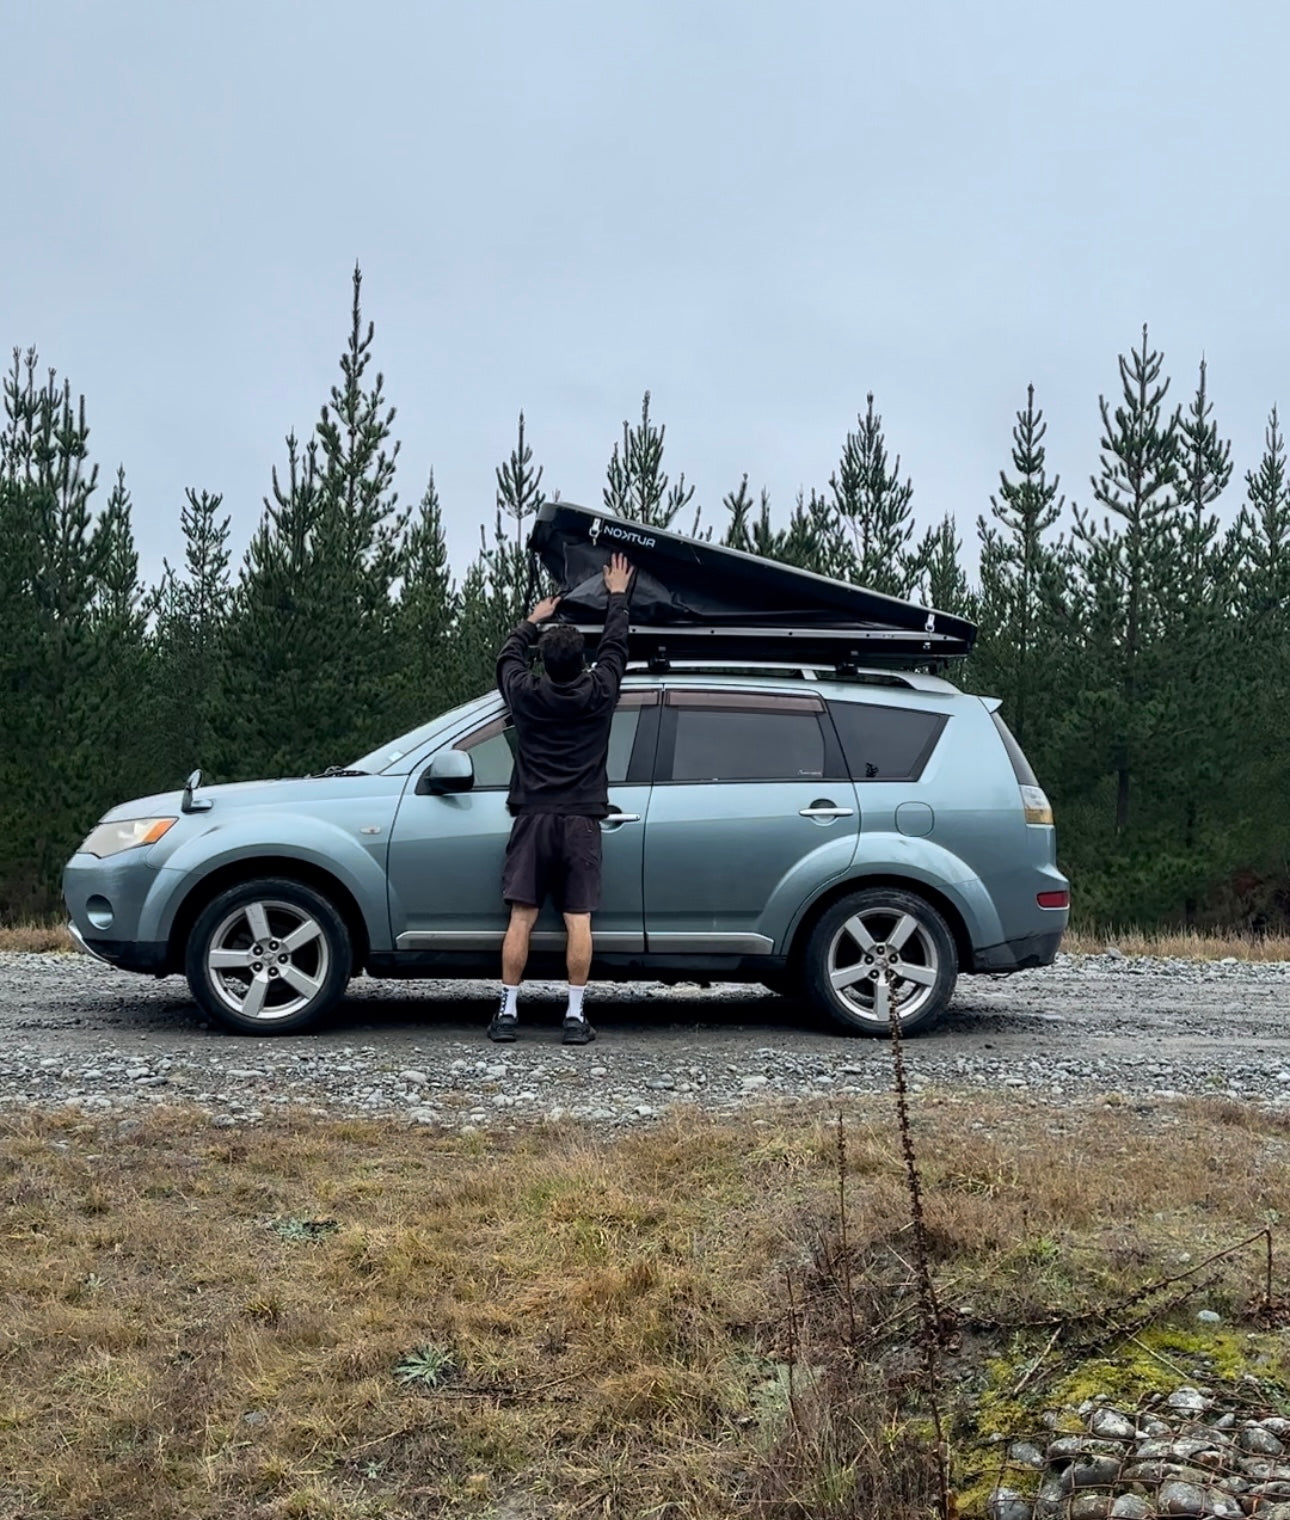
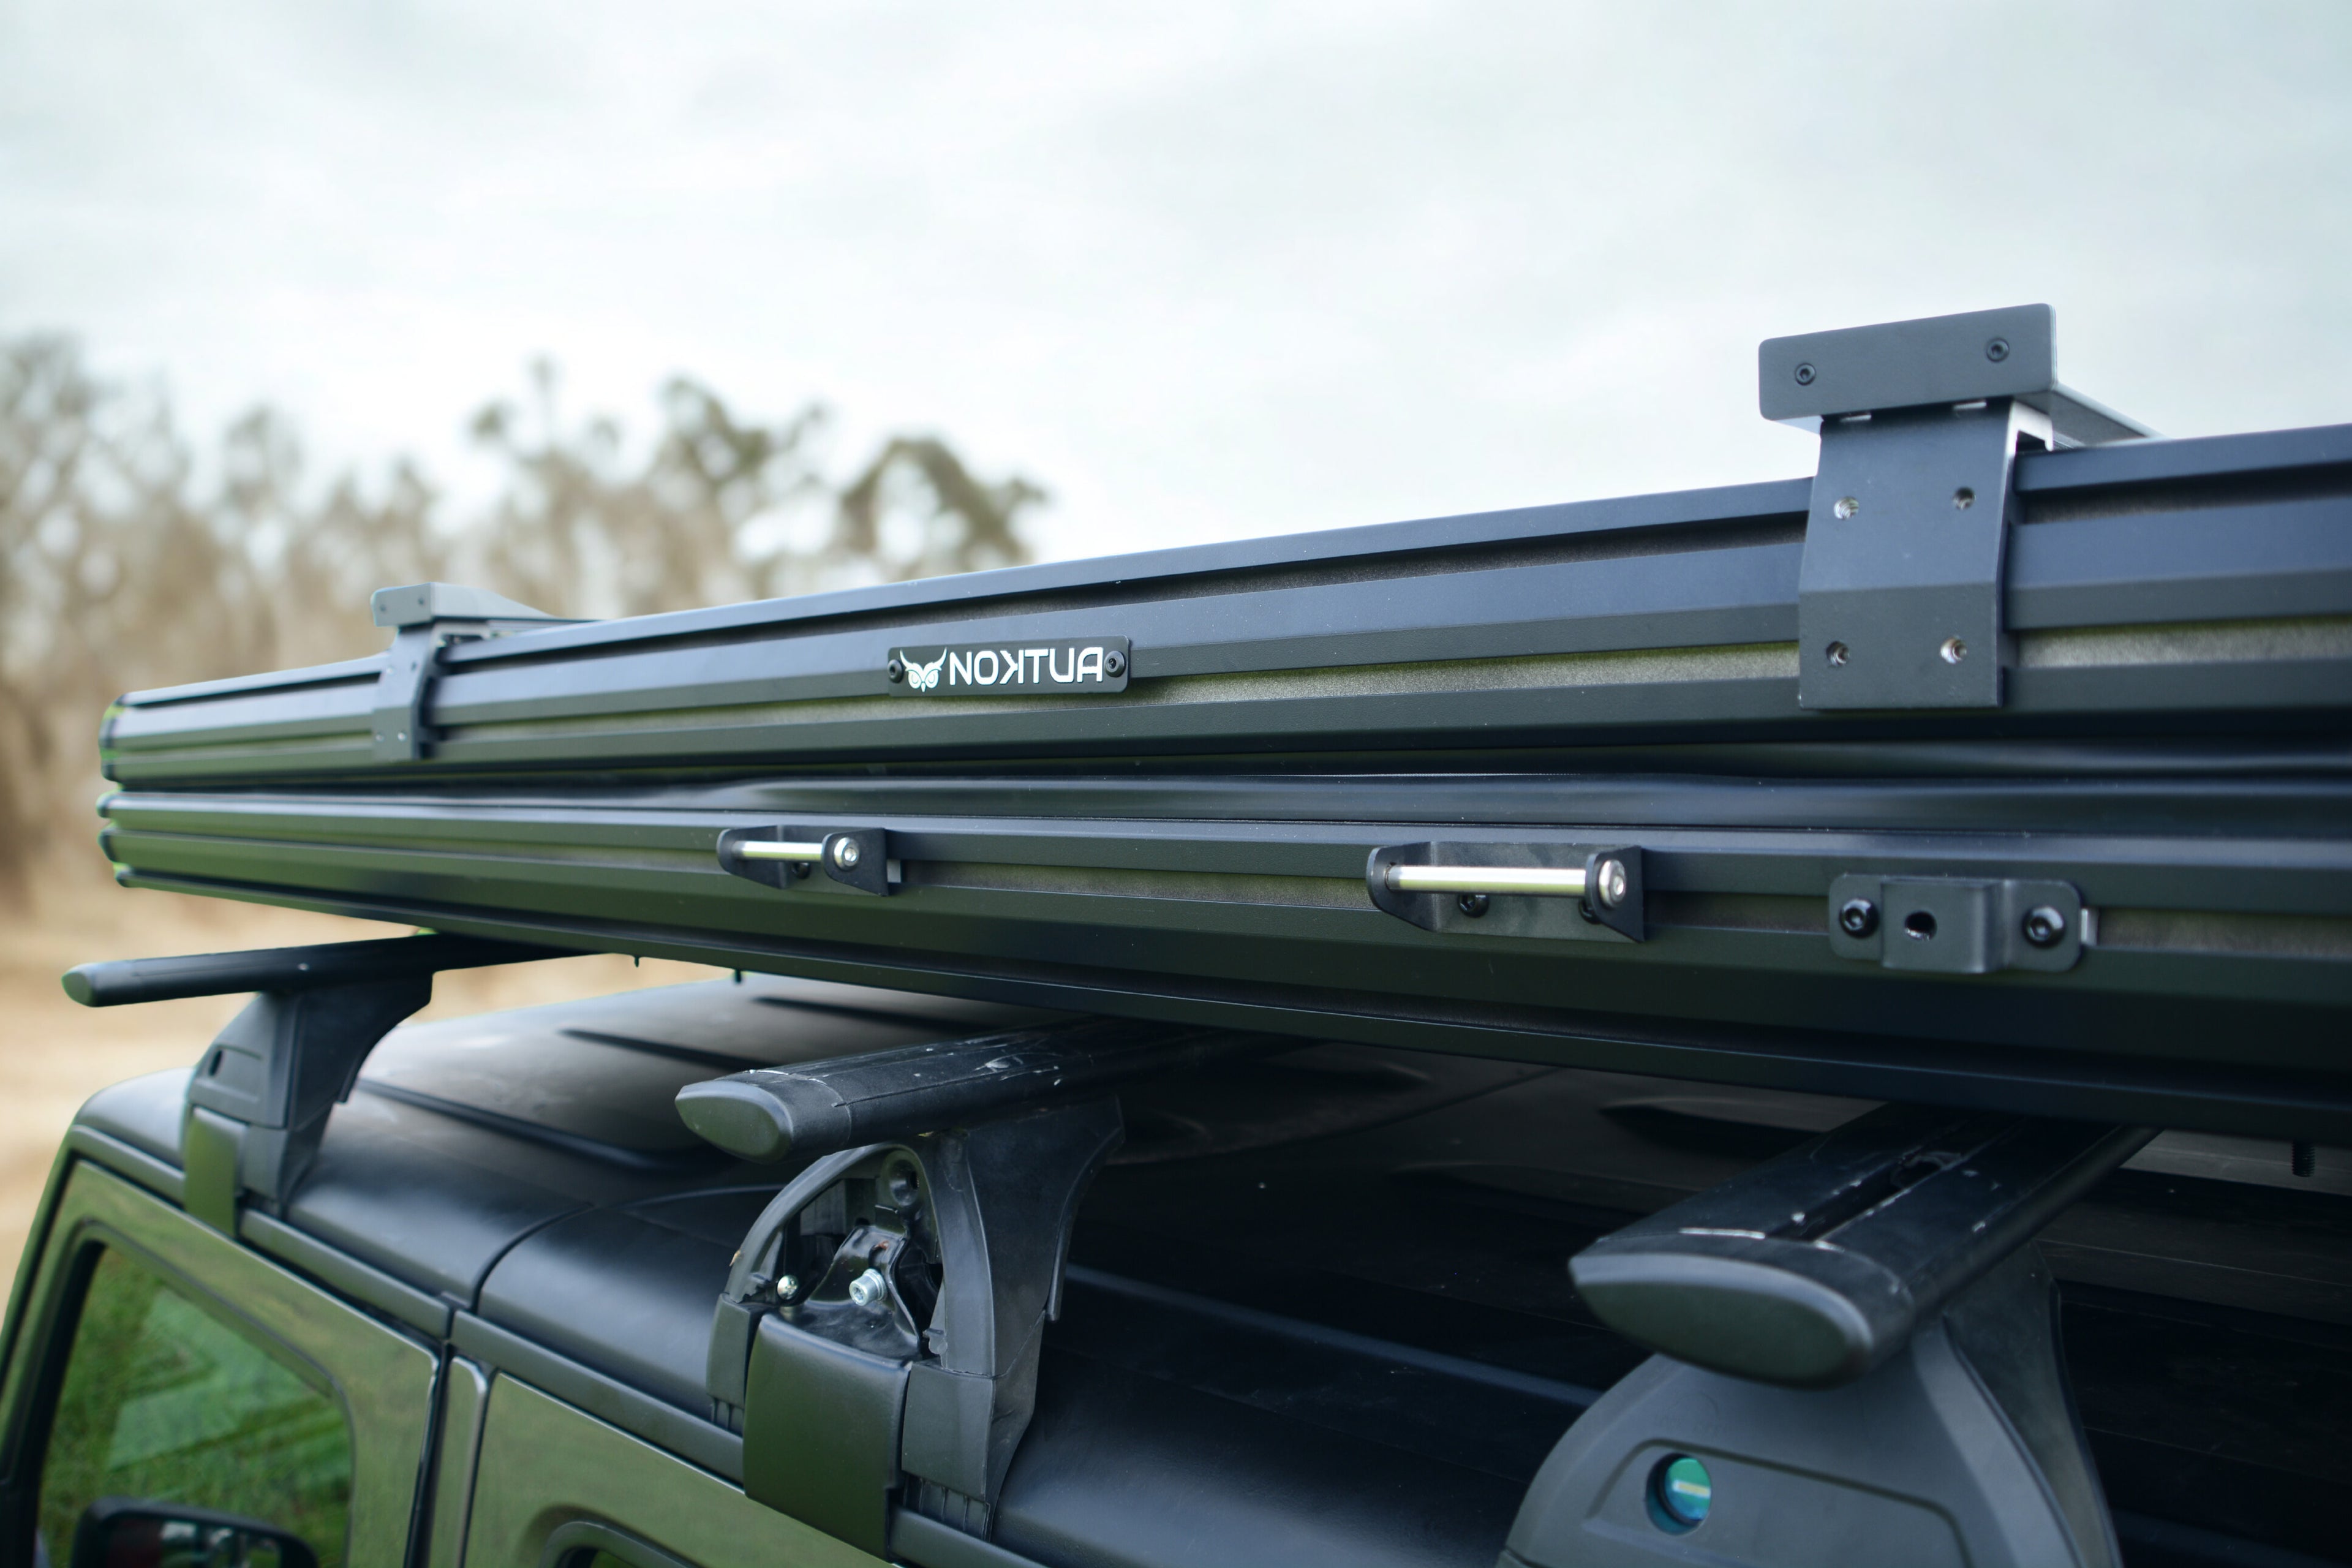
step 4
Install
Installing your rooftop tent is a straightforward process that usually takes between 10 and 20 minutes. Everything you need for installation is included in the box, along with clear and detailed instructions to guide you step-by-step. Additionally, we offer free installation if you pick up your tent from our warehouse.