

Rooftop Tent Assembly Guide
INSTALLATION GUIDE
How to set up, install and use your Roof Top Tent Classic
- Key safety information
- Unboxing
- Mounting to your vehicle
- Using your Noktua Tent
NOKTUA Roof Top Tents are ready to mount to your vehicle straight out of the box.
If you have any questions regarding the installation or use of your Noktua Tent, please get in touch with our support team. Do not install your Tent if you do not understand these instructions.
Installation Safety
- Use approved roof racks: Make sure the roof racks are from a reliable manufacturer and are authorized for your vehicle. They should have passed quality tests and support the weight of the tent.
- Install roof racks correctly: Follow the manufacturer’s instructions to ensure proper installation.
- Secure the rooftop tent properly: Attach the rooftop tent to the roof racks following our specific instructions.
- Secure closure during travel: Ensure the tent is fully closed and secured with the straps before driving.
- Regular checks and cautious driving: Inspect the racks and tent before long trips and periodically. Drive cautiously, considering the added height and how the tent may affect vehicle stability.
Unpacking
When unpacking your Noktua rooftop tent, follow these tips:
- Unpack carefully: The rooftop tent is a heavy product. Open the box cautiously and preferably in a safe area.
- Check the contents: Ensure all components are present and in good condition inside the tent.
Mounting on the Vehicle
Ensure your tent is properly secured to the roof racks by following these steps:
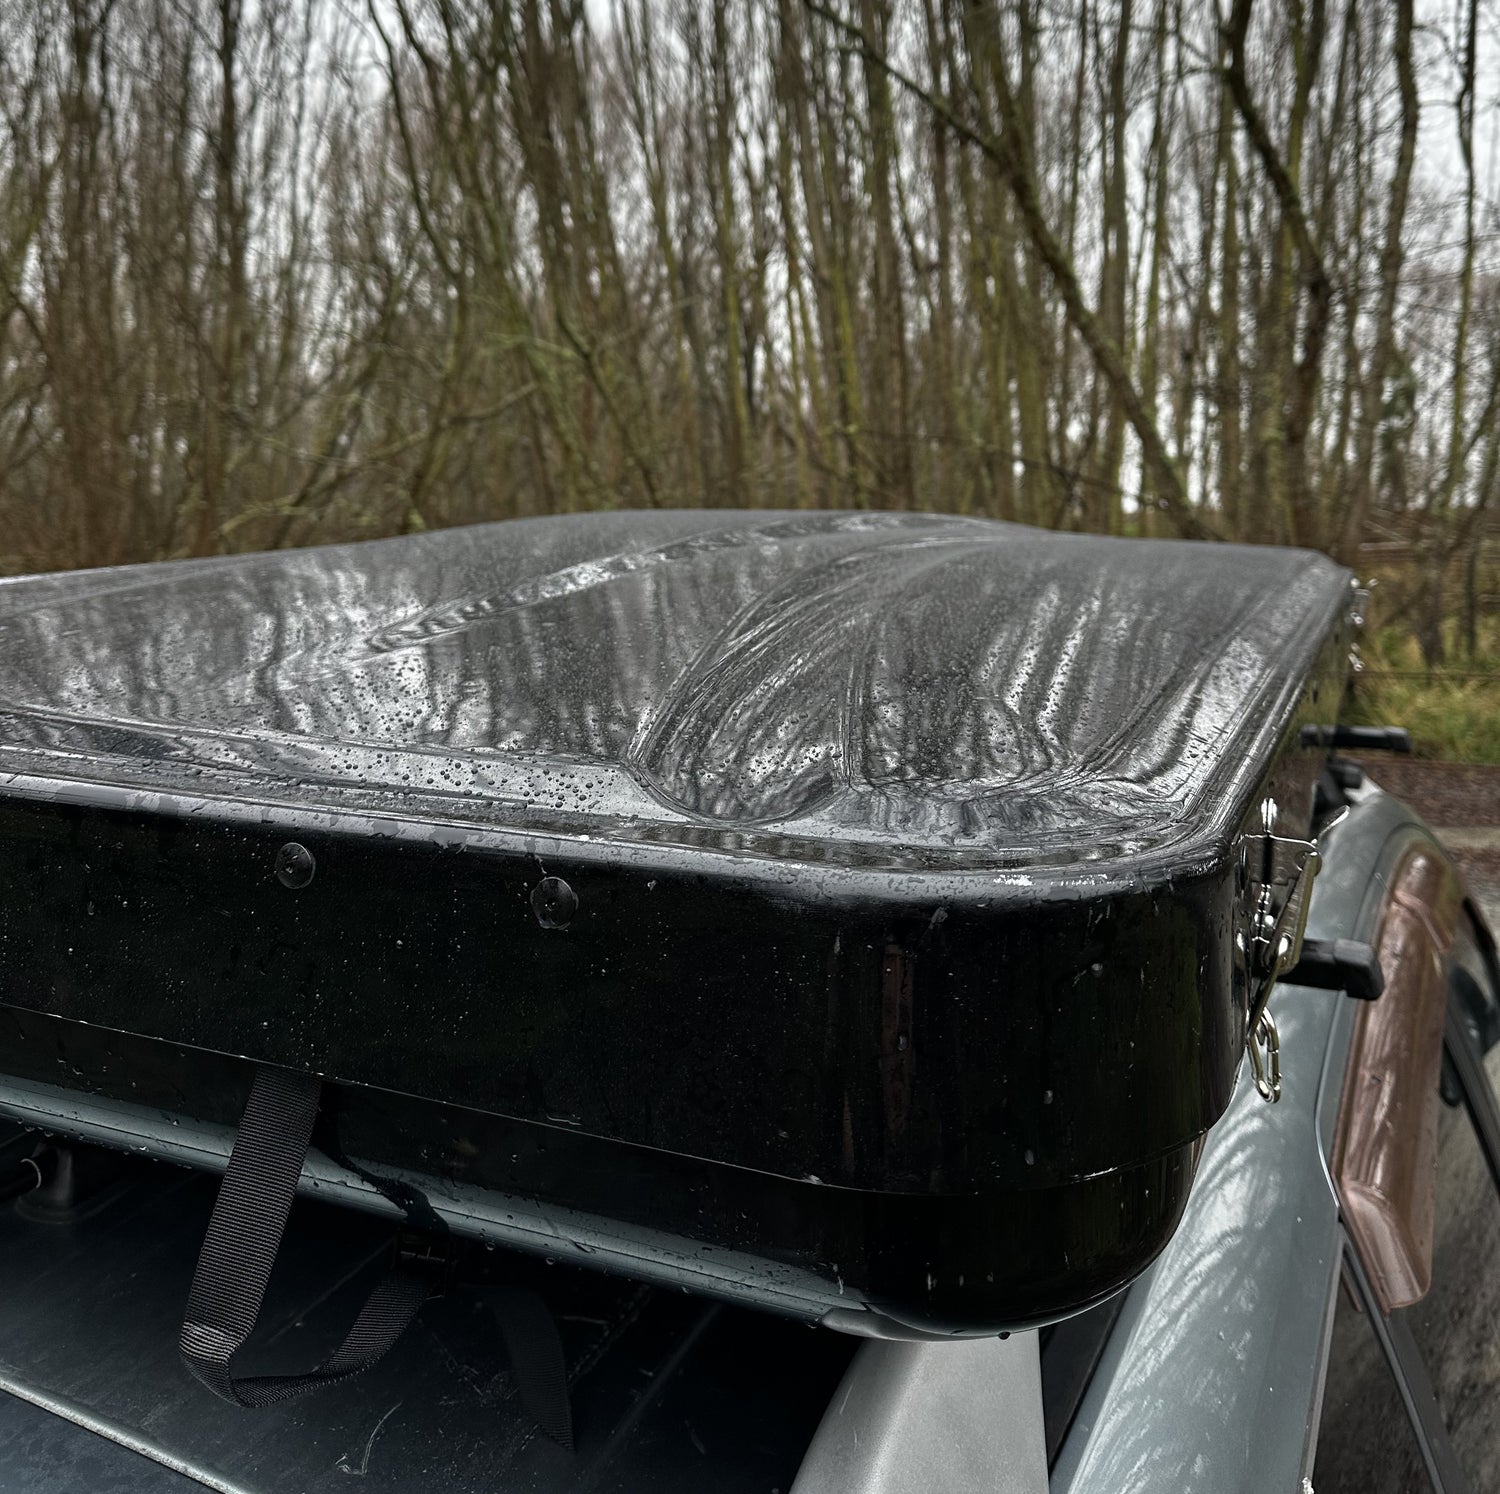
1. Position the rooftop tent:
Carefully place the tent on the vehicle’s roof racks, as it is a heavy object. It is advisable to do this with the help of another person to avoid the risk of dropping. Make sure the tent is centered.
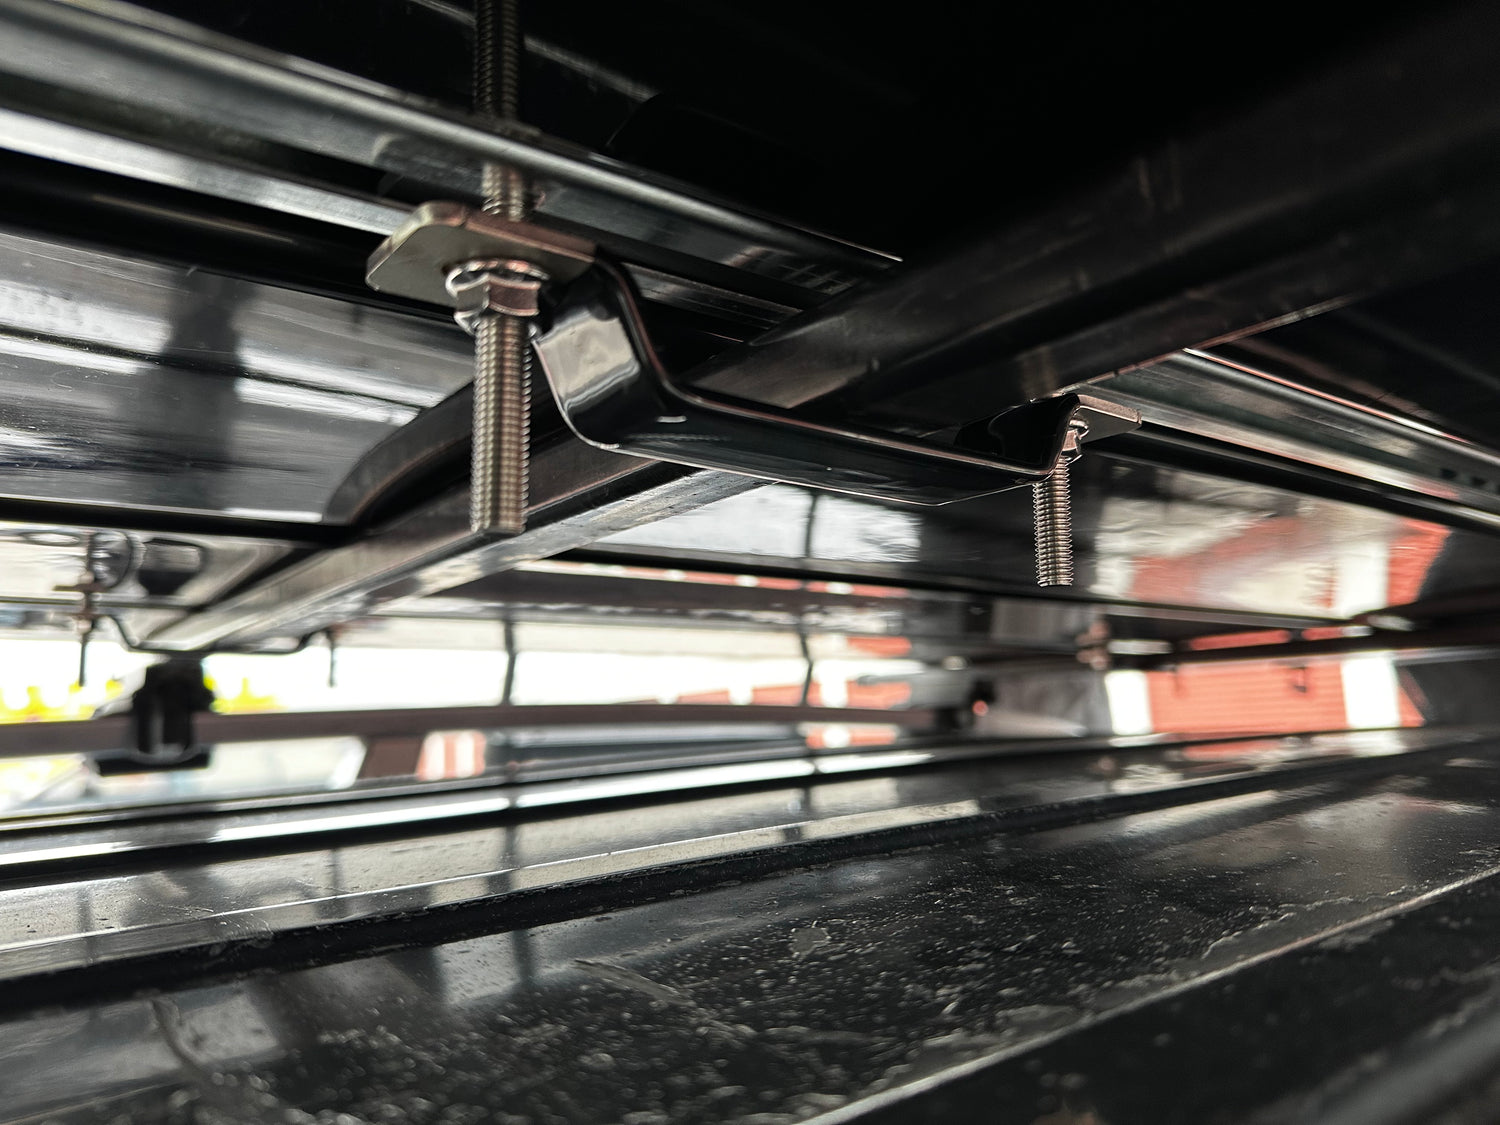
2. Secure the brackets
Insert the bolts through the mounting plates to attach the tent to the roof racks.
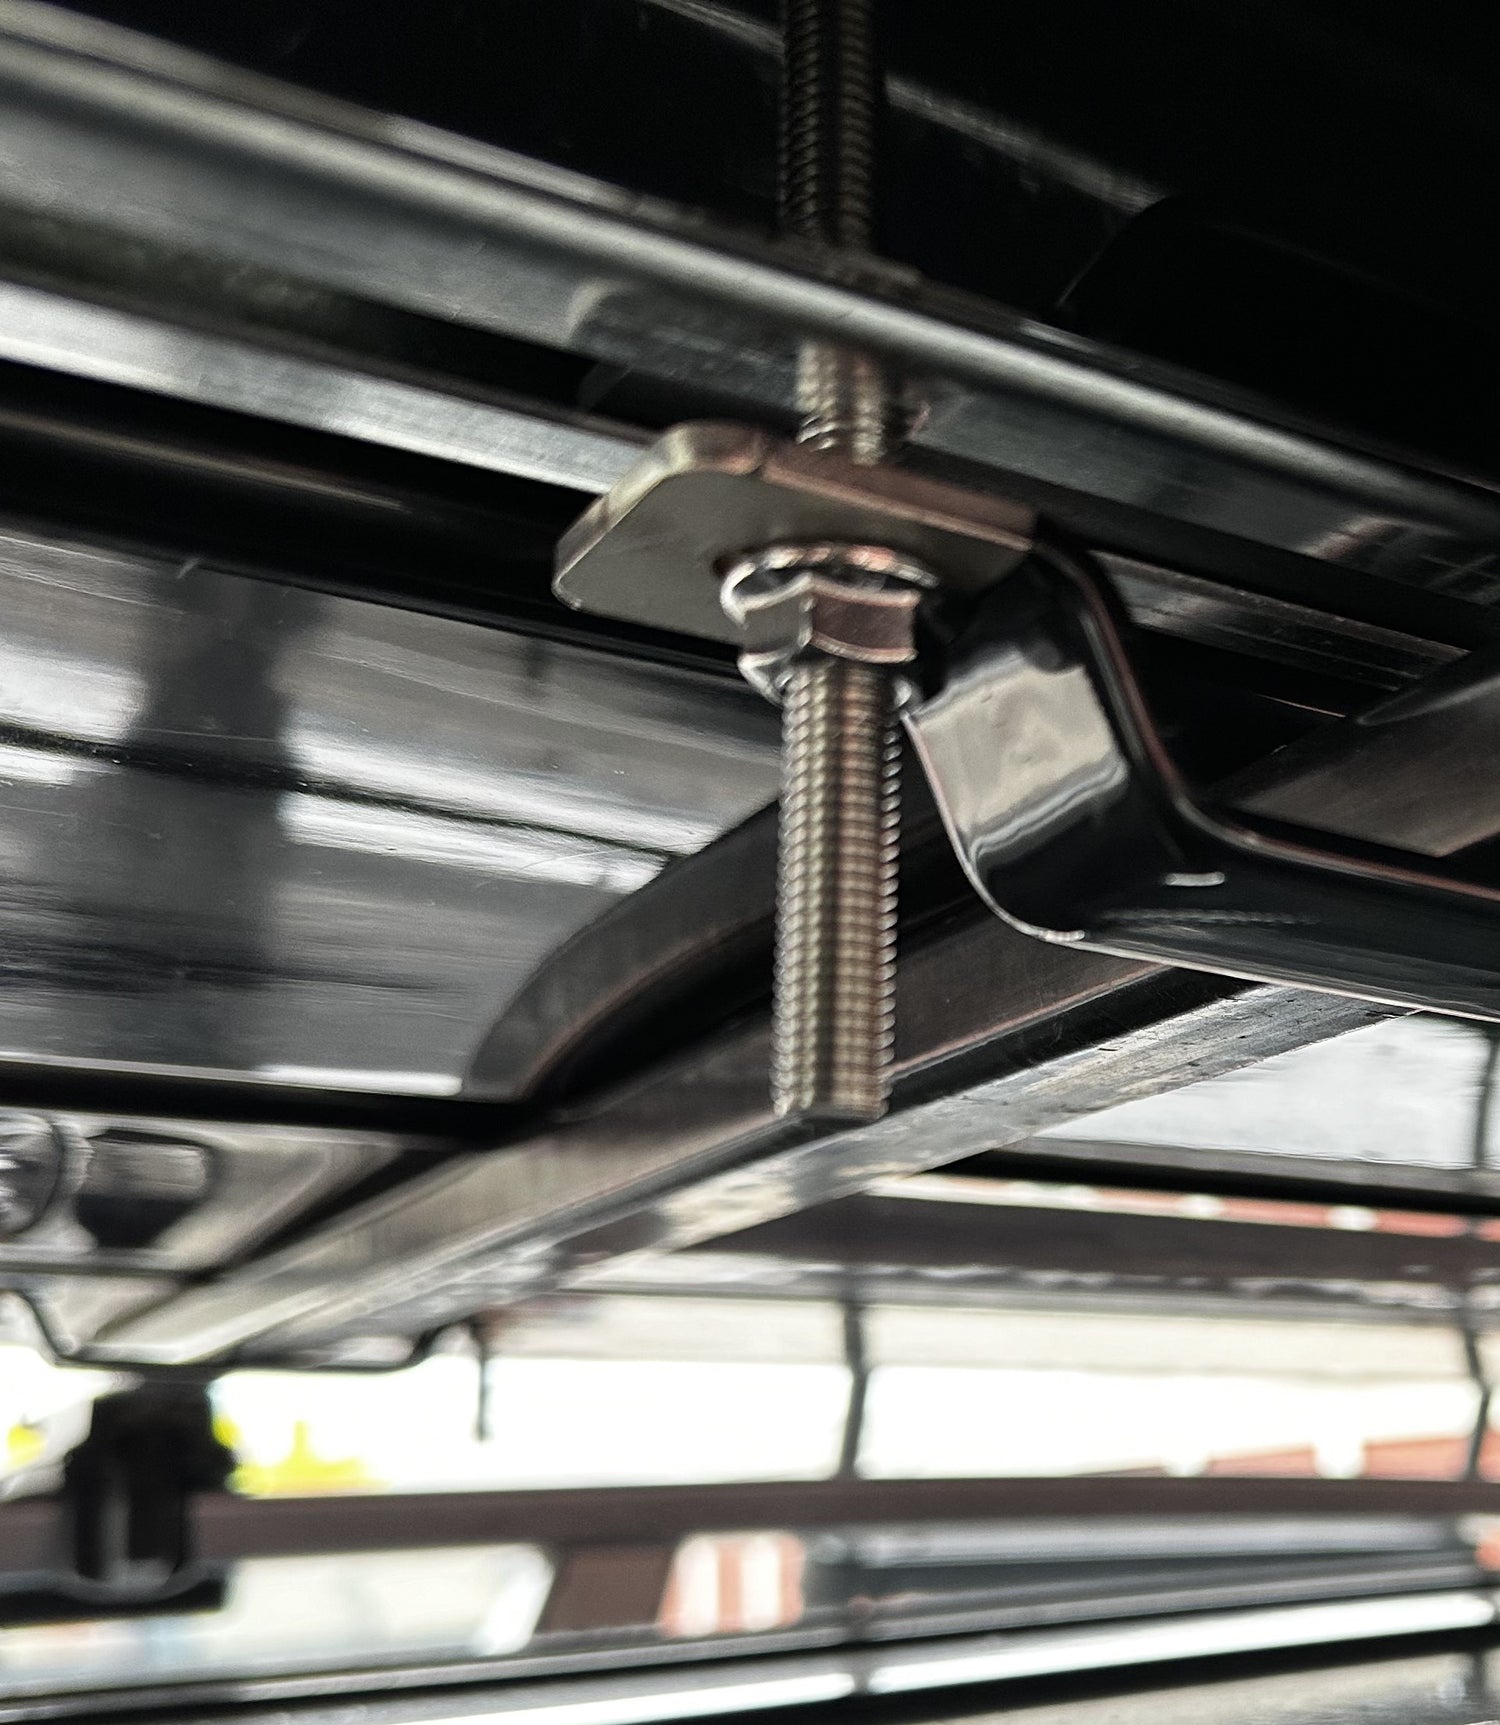
3. Tighten the nuts
Use the provided nuts to firmly tighten the brackets.
4. Final check:
Ensure the tent is properly tightened and aligned, confirming it is securely fixed.
Using Your Noktua rooftop tent
Opening the Rooftop Tent:
Release the buckles: Unfasten the buckles at one end and lift the top shell to open the tent.
Open sequentially: Open one end at a time to make the process easier.

Setting Up the Porch
Locate the poles: Find the porch poles in the tent’s storage bag.
Install the poles: Place the poles in the grommets and the holes at the base of the tent to set up the porch.
Using the Ladder
Extend the ladder: Hold the ladder by the outer edge and extend it.
Fold the ladder: Press the buttons and fold each section of the ladder.
Store the ladder: Keep the ladder inside the tent centrally to avoid it getting caught.
Be cautious with your fingers when handling the ladder.
Closing the Tent
Ventilate when closing: Leave the windows slightly open to allow air to escape when closing the tent.
Secure the fabric: Ensure all side fabric is tucked in before tightening the closure straps.
Tighten the straps: Make sure the closure straps are well secured.